Of all household annoyances, a Plungers clogged drain or toilet surely ranks at the top of the list. And while a little care can go a long way in preventing clogs, it’s one of those things every homeowner is bound to experience every now and then.
So what’s the good news? Many common clogs can be cleared easily assuming you have the right tools at hand – mainly, the right plunger. But not all plungers are created equal. Read on to learn more.
Plungers 101
A standard plunger consists of a rubber suction cup attached to a plastic or wooden stick. Affordable and easy to use, plungers clear clogs in pipes and drains by forcing air into the drain. When a tight seal between a plunger and sink, tub, or toilet is formed and pressed down upon, the pressure increases, thus pushing the clog through the drain. When pulled back up, the rubber cup creates a vacuum forcing everything up and, hopefully, out.
Types of Plungers
There are three main types of plungers, each appropriate for different uses.
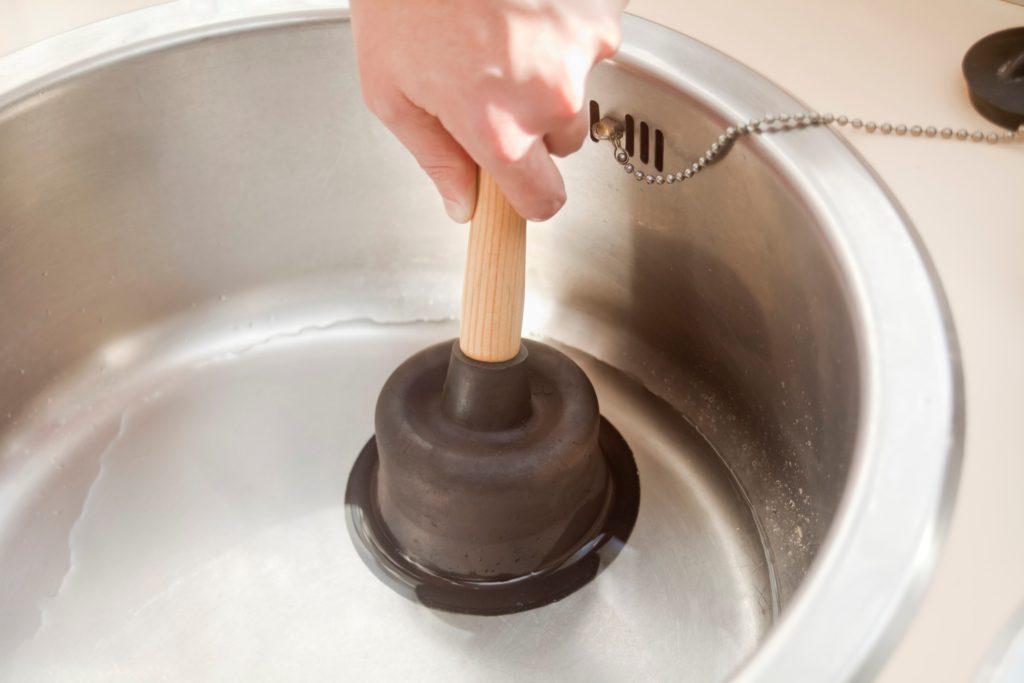
- The most basic, the sink plunger, is what most people think of when hearing the word “plunger.” It has a rubber cup at the end of a handle. A sink plunger works best on flat surfaces like sinks, shower, or bathtub drains where the cup can form a tight seal around the drain.
- A toilet plunger also has a cup at the end of the handle, but inside the cup is a soft rubber flap that folds outward. The rubber flap is necessary to create the suction needed in a curved toilet drain.
- A less common plunger, an accordion plunger, is used mostly to unclog toilets and has a small cup at the end of its hard plastic, accordion-style base. However, many find it difficult to form a good seal with accordion style plungers.
How to Use a Plunger
Knowing how to use a plunger correctly can mean the difference between clearing a clog in a jiffy or needing to call a pro. Follow this step-by-step guide.
- Position the plunger over the drain opening, making sure the drain is fully covered.
- Run enough water into the sink or tub to cover the cap of the plunger.
- Thrust the plunger up and down in a smooth motion, making sure to maintain a good seal between the surface and the cup of the plunger.
- Once the clog starts loosening, you’ll notice the handle becomes easier to pump. After about 6 to 8 pumps, pull the plunger away and check if the clog has cleared. If not, repeat the process one or two more times.
- Once the clog is completely dislodged, flush the drain with hot water to remove any lingering debris.
- If the clog won’t budge, try an enzymatic drain cleaner. If that doesn’t work, call a licensed plumber to get things moving again.
Speaking of licensed plumbers, we’re Messmer Mechanical, and we have much more than plungers at our disposal to break up tough drain clogs and get things moving again. So, the next time that DIY efforts can’t get the job done, we will, and to your complete satisfaction. Contact us today.


